
Permanent outdoor lighting stays in place year-round, yet you turn it on only when you want it. A soft glow can welcome guests on an ordinary evening, while color scenes can mark holidays, game days, and family celebrations.
Homeowners also use these systems to light entryways, patios, driveways, and walkways after dark. The best results come from planning around your home’s architecture, weather exposure, electrical setup, and neighborhood rules. RadGlow can help local homeowners assess those details before installation begins.
How Permanent Outdoor Lighting Works and What It Can Do
Permanent outdoor lighting is a weather-rated LED system mounted to features such as eaves, soffits, fascia, rooflines, entryways, and trim. Most systems use low-voltage LED strips or evenly spaced puck-style lights inside a discreet track that blends with the home’s exterior.
During the day, the track and wiring should be difficult to notice. At night, the lights can outline the structure or brighten selected outdoor areas. Permanent means the equipment remains installed, not that it runs all night.
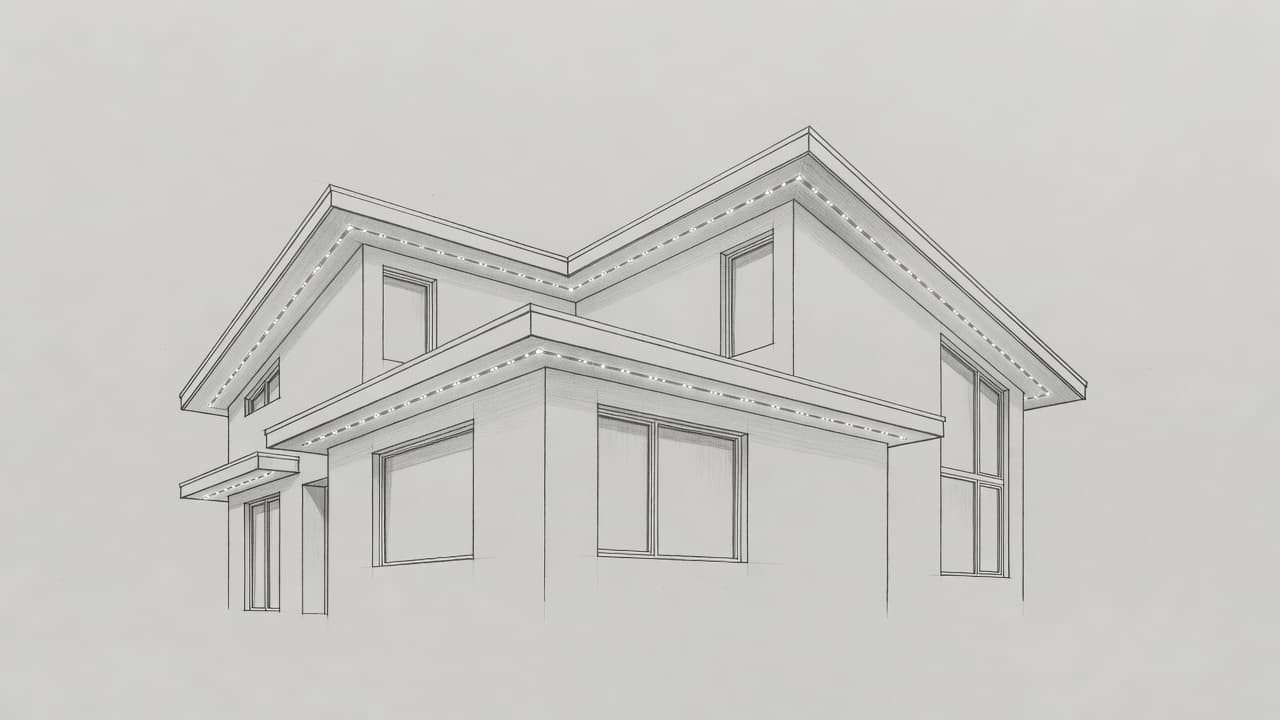 Many systems connect to a mobile app through Wi-Fi. You can set schedules, lower brightness, choose colors, save scenes, and control lights through Alexa or Google Assistant. That flexibility makes a single installation useful beyond December decorations.
The everyday benefits beyond holiday displays
Soft white lighting can make steps, pathways, decks, and front doors easier to see at night. It also makes a patio or backyard seating area more comfortable after sunset.
For celebrations, brighter settings and color-changing scenes add energy without pulling bins of string lights from storage. LEDs also use far less energy than incandescent bulbs and typically require less attention than temporary light strands.
Convenience is often the biggest benefit. The system is ready for a birthday, outdoor dinner, or holiday with a few taps in an app. You avoid repeated ladder work, tangled cords, and the annual task of removing lights before winter weather arrives.
Permanent lights compared with temporary string lights
Temporary string lights can cost less upfront and make sense for renters or one-time decorating. However, they are often more visible in daylight and usually offer fewer control options.
A permanent system fits homeowners who want a clean, year-round look. It removes seasonal installation, storage, and repeated trips up a ladder. The right choice depends on how often you’ll use the lights, whether you own the property, and how polished you want the exterior to look every day.
What to Plan Before Installing Permanent Outdoor Lighting
Start by identifying what each outdoor area needs. Your front roofline may need subtle curb appeal, while a side gate, patio, or driveway may need practical visibility.
Next, review the home’s trim, roof shape, existing outlets, mounting surfaces, and Wi-Fi coverage. Take photos during daylight and note areas that feel too dark after sunset. Those details give RadGlow a useful starting point during an in-person property assessment.
Choose the right placement, color, and control features
Rooflines and eaves create a consistent architectural glow, especially on homes with clean lines and visible fascia. However, steps, trees, doors, patios, and walkways may need separate fixtures or lighting zones.
Warm white light gives a traditional, welcoming appearance. Cool white has a crisper look, while color-changing LEDs work well for holidays and events. Consider where neighbors and drivers will see the lights, because poor placement can create glare or leave awkward dark spots.
Ask how the app handles daily schedules and saved scenes. Also check whether you want voice control, separate zones, and the ability to dim each area. A balanced design feels intentional instead of overly bright or cluttered.
Check weather ratings, power, mounting, and local rules
Outdoor components need ratings that match rain, moisture, heat, cold, and direct sun. The system should use a properly sized low-voltage transformer, protected connections, outdoor-rated power, and wire routing that avoids damage.
Mounting matters as much as the lights themselves. Fasteners and tracks should protect siding, fascia, gutters, and roofing materials. The installer should also account for drainage, seasonal expansion, and access for future service.
A lighting track should blend into the home during the day, not compete with its trim or roofline.
Before work begins, check HOA guidelines, permits, rental restrictions, and local electrical requirements. These rules can affect brightness, placement, exterior changes, and how power connections are handled.
Why Professional Installation Makes a Difference
A professional installation starts with accurate measurements and a design that follows the home’s actual lines. Installers can conceal wiring, mount tracks cleanly, make safe electrical connections, and test the system after dark.
DIY kits can work for simple projects, but rooflines add real challenges. Uneven spacing, exposed cables, water intrusion, damaged surfaces, and ladder injuries can turn a small project into a frustrating repair.
RadGlow offers a practical local option for homeowners who want a custom layout, dependable installation, app setup, and guidance after the lights are on. Nighttime testing also allows small adjustments to brightness and angles before the job is complete.
Questions to ask before choosing an installer
Ask direct questions before scheduling permanent outdoor lighting installation:
- Which light products and weather ratings will you use?
- How will tracks, lights, and wires stay hidden during the day?
- Where will transformers, controllers, and electrical connections go?
- How will the layout handle corners, rooflines, trees, and walkways?
- Is app setup included, along with instructions for schedules and scenes?
- What workmanship coverage, maintenance help, and local support do you provide?
Look for completed-project examples, clear answers, and outdoor electrical practices that fit your property. A good design should look made for your home, not pulled from a standard package.
What the installation process usually looks like
The process usually begins with a consultation and property assessment. After reviewing goals, architecture, power access, and dark areas, the installer prepares a layout and recommends products.
Installation follows with track mounting, wiring, transformer placement, and controller setup. Then the system is tested after dark, when brightness, aiming, and spacing are easiest to judge.
A homeowner walkthrough should cover the app, schedules, presets, and basic care. If you’re considering permanent lighting but aren’t sure where to start, RadGlow can help evaluate your property and turn a rough idea into a finished plan.
A Better-Lit Home Starts With a Thoughtful Plan
A successful permanent outdoor lighting system is subtle in daylight, weather-ready, safe to operate, and easy to control at night. Placement, power access, mounting methods, local rules, and the right controls all deserve attention before the first track goes up.
For a local consultation, property assessment, and professional installation, contact RadGlow when you’re ready to discuss your outdoor lighting goals.